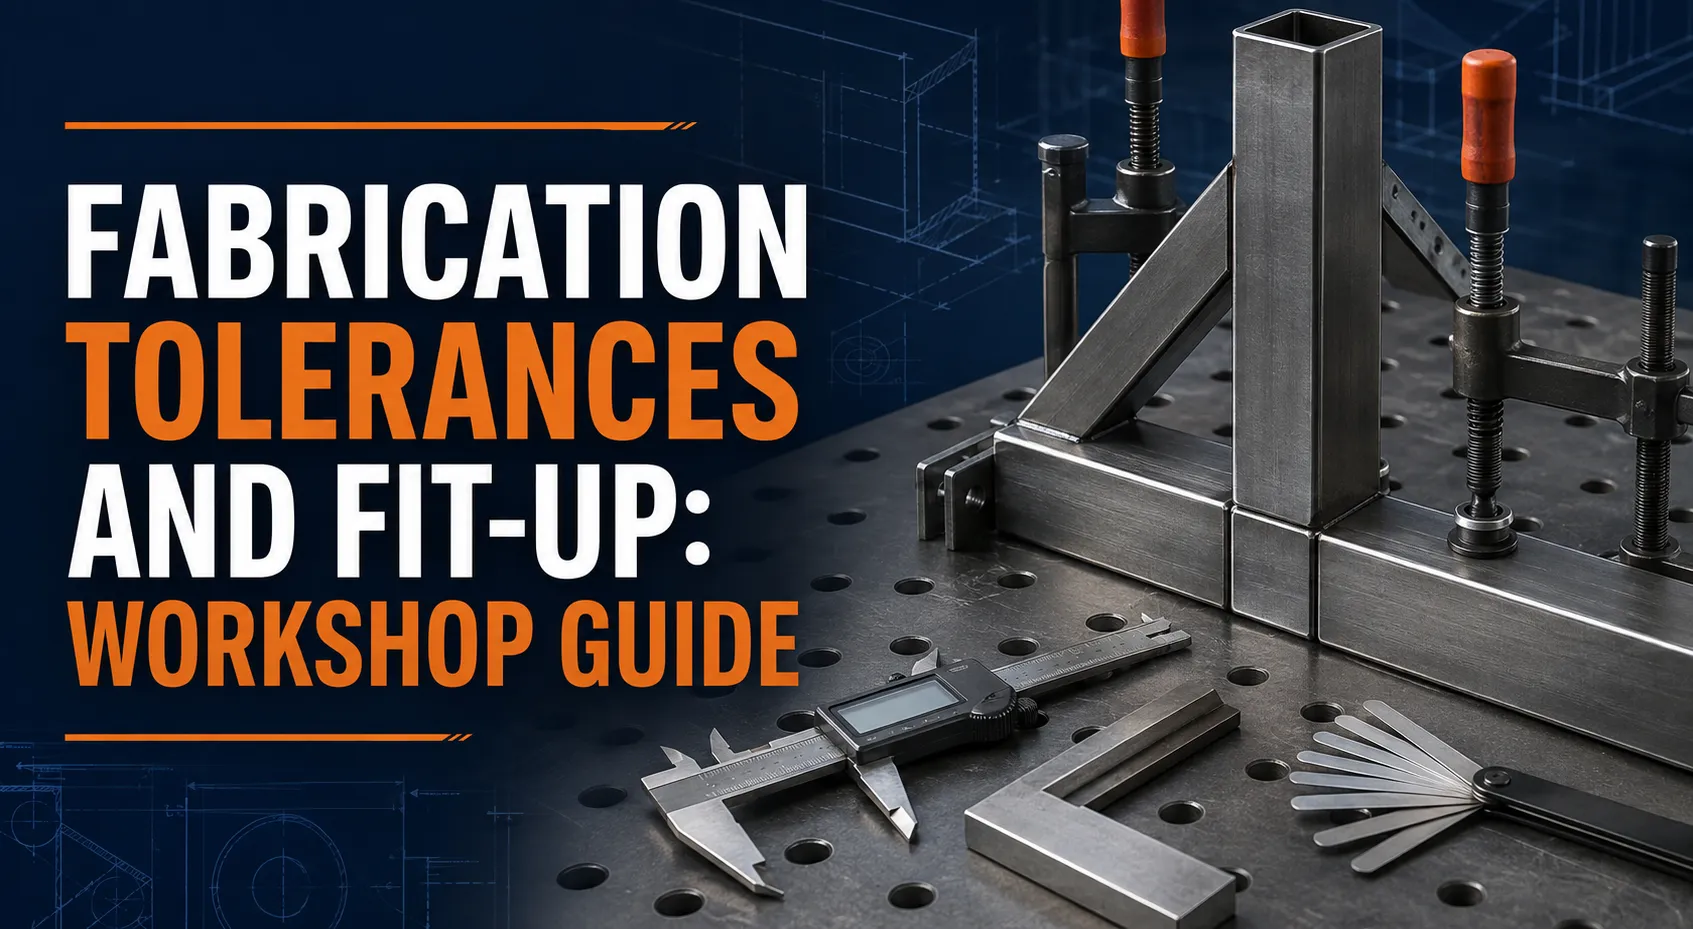
A drawing gives nominal dimensions; tolerances define the acceptable variation. Without tolerances, the workshop does not know how accurately a part must be made. With unnecessarily tight tolerances, the part may cost far more than its function requires.
Good fabrication balances design intent with real process capability. The goal is not to make every dimension perfect—it is to control the dimensions that determine fit, function, safety and appearance.
What Is a Tolerance?
A tolerance is the permitted variation from a nominal size or geometry. It may be bilateral, allowing variation above and below the nominal value, or unilateral, allowing variation mainly in one direction.
Examples include control of:
- length and width;
- hole diameter;
- hole position;
- angle;
- flatness;
- straightness;
- perpendicularity;
- parallelism; and
- assembly alignment.
Acceptance must be based on the drawing and applicable standard, not on whether a part “looks close.”
Functional Dimensions Deserve Priority
Identify the features that determine whether the product works:
- mounting-hole patterns;
- door and drawer openings;
- shaft and bearing fits;
- mating flanges;
- hinge locations;
- sliding clearances;
- sealing faces;
- overall interface dimensions; and
- surfaces used for installation.
These dimensions may justify tighter control. A hidden stiffener length that does not affect assembly can often accept a broader tolerance.
Communicate critical features clearly instead of tightening the entire drawing.
Establish Datums
A datum is a reference point, line, axis or surface from which dimensions are established. Consistent datums prevent tolerance confusion.
For a sheet-metal panel, one corner and two perpendicular edges may locate holes. For a welded frame, the bottom mounting plane and a central axis may control the assembly.
Choose datums that are:
- functionally relevant;
- stable during manufacturing;
- accessible for inspection; and
- repeatable in fixtures.
Avoid dimensioning a critical hole from a rough cut edge that will vary or be trimmed later.
Avoid Long Dimension Chains
When several dimensions are placed end to end, each variation accumulates. This is tolerance stack-up.
If five hole spacings are chained from one another, the final hole can move by the combined variation. Baseline dimensioning from a common datum often controls position more reliably.
Think about the assembly path. If two parts must share a bolt pattern, dimension both from compatible datums rather than independent edges.
Match Tolerance to Process Capability
Different processes offer different accuracy:
- sawing;
- manual plasma cutting;
- CNC plasma;
- laser;
- waterjet;
- punching;
- press-brake bending;
- rolling;
- welding; and
- machining.
A laser-cut hole may be accurate before welding, but the assembly can move as welds contract. A press-brake flange is influenced by thickness, tooling and springback. A machined interface can hold a tighter tolerance than a flame-cut surface.
Specify the final-state requirement and plan the manufacturing route accordingly. Critical holes may need machining after welding rather than expecting weldments to remain perfectly aligned.
Cutting Tolerances
Cut quality depends on material, thickness, machine, kerf compensation, speed, consumable condition and thermal movement.
Check:
- overall profile dimensions;
- hole and slot size;
- edge angularity;
- dross or burr;
- corner radius;
- heat distortion; and
- surface damage.
Do not assume a quoted machine positioning accuracy equals finished-part tolerance. The complete cutting process and material condition determine the result.
Bending Tolerances
Bend angle and flange length depend on actual thickness, material strength, radius, tool setup and springback. Error accumulates across multiple bends.
Control bent parts by:
- using verified bend tables;
- establishing logical datums;
- planning bend sequence;
- measuring first-off parts;
- compensating springback; and
- separating critical from noncritical flange dimensions.
If a hole must align after bending, dimension it from the finished functional datum and validate the flat pattern through a trial.
Welding Fit-Up
Fit-up describes how joint members meet before welding. It includes root gap, alignment, angle, contact and relative position.
Poor fit-up can cause:
- variable penetration;
- burn-through;
- lack of fusion;
- excessive weld metal;
- distortion;
- wrong assembly dimensions; and
- fatigue-sensitive misalignment.
Miller advises checking for excessive gaps and using clamps or fixtures to hold parts correctly because fit-up affects burn-through and distortion; see its welding operation guidance.
Use gauges, spacers and fixtures to maintain the specified root opening. Do not compensate for a large, changing gap with a randomly changing bead size.
Tolerances on Welded Assemblies
Welding introduces heat and shrinkage. Control assembly accuracy through:
- balanced joint design;
- proper tacks;
- fixtures;
- measured preset where proven;
- planned weld sequence;
- controlled heat input; and
- staged inspection.
Specify when a dimension applies: before welding, after welding, after machining or after coating. A coating can change a close clearance, while post-weld machining can restore a precise interface.
Hole and Fastener Fit
Hole clearance should reflect fastener type, assembly method, adjustment needs and structural design. Oversized or slotted holes may assist installation but can alter load transfer and must be approved.
For matching plates, use a common datum scheme. If holes are drilled separately from different edges, variation can prevent assembly.
Consider whether holes will be cut, drilled, reamed or machined. Thermal cutting may be acceptable for general bolt clearance but not for every fatigue or bearing application.
Clearances for Doors and Moving Parts
Cabinets, gates, hatches and drawers require planned clearance. Include effects of:
- weld distortion;
- hinge play;
- coating thickness;
- seals and gaskets;
- temperature change;
- floor or wall irregularity; and
- expected dirt or wear.
Test movement after tacking and again after final welding, before coating. Collision detection in CAD helps but does not replace physical tolerance allowance.
Inspection Planning
Decide how each critical requirement will be measured. Possible tools include:
- steel rule and tape;
- caliper or micrometer;
- square;
- bevel or digital angle gauge;
- height gauge;
- surface plate;
- templates and go/no-go gauges;
- coordinate measuring equipment; and
- purpose-built fixtures.
Measurement accuracy should be suitable for the tolerance. A tape measure is not the correct tool for a precision hole pattern.
Use First-Off and In-Process Inspection
Inspect the first completed part before producing the full batch. Verify cutting, bending, assembly and finish interfaces.
For welded products, measure at hold points:
- after cutting;
- after bending;
- after tacking;
- after major weld stages;
- after final welding; and
- after coating or final assembly where relevant.
Early inspection identifies whether error comes from the part, fixture, bend program or weld sequence.
Document Nonconformance
When a dimension falls outside tolerance, record it. Evaluate function and code requirements before accepting, repairing or rejecting the part.
Do not force mating parts, enlarge holes casually or hide misalignment with weld. Repairs can change strength, fatigue performance and corrosion protection. Obtain approval where required and update the process to prevent recurrence.
Avoid Over-Tolerancing
Unnecessarily tight tolerances increase:
- programming and setup;
- cutting or machining time;
- inspection effort;
- fixture cost;
- scrap risk; and
- supplier price.
Ask what failure the tight tolerance prevents. If the answer is unclear, review the dimension. Good design is precise about function without demanding precision everywhere.
Fabrication Tolerance Checklist
- Functional and critical dimensions are identified.
- Stable datums are defined.
- Tolerance chains are minimized.
- Requirements match available processes.
- Cut, bend and weld effects are considered.
- Hole patterns use compatible references.
- Coating and moving clearances are allowed.
- Suitable inspection tools are available.
- First-off and in-process checks are planned.
- Nonconformance approval is defined.
Conclusion
Fabrication tolerances connect design requirements to workshop capability. Control the dimensions that affect fit and function, use logical datums, reduce stack-up and inspect at the right stages.
Accurate fit-up is not only a quality issue; it reduces weld defects, distortion and assembly time. When tolerances are clear and practical, the workshop can produce consistent parts without unnecessary cost.


 No products in the cart.