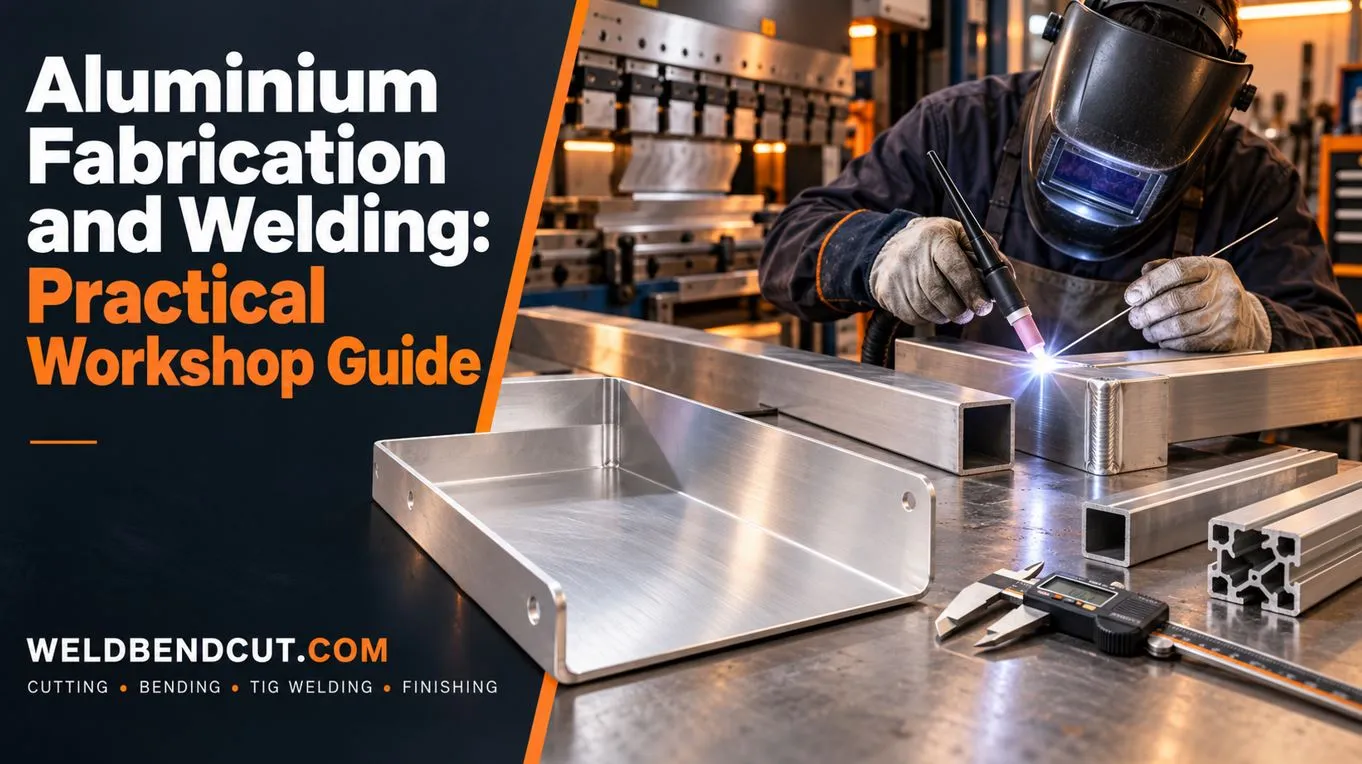
Aluminium is lightweight, corrosion resistant in many environments and easy to machine or form when the correct methods are used. It also behaves very differently from mild steel. Its oxide layer melts at a much higher temperature than the base metal, it conducts heat rapidly and it does not change colour clearly before melting.
These characteristics make preparation and process control essential. Good aluminium fabrication begins with the correct alloy and continues through clean storage, suitable cutting and forming, correct filler selection and disciplined welding.
Identify Alloy and Temper
Aluminium alloys are grouped into series with different strength, corrosion resistance, formability and weldability. Temper describes the material’s condition and treatment.
Before production, confirm:
- alloy designation;
- temper;
- product form;
- thickness;
- mechanical requirements;
- service environment;
- finish; and
- certification needs.
Some high-strength alloys are not readily fusion welded, while common 5xxx and 6xxx series materials may be weldable with appropriate filler and procedures. Do not substitute alloy or temper because two sheets look identical.
Welding can reduce strength in the heat-affected zone of heat-treated alloys. Structural designs must account for the as-welded properties required by the applicable code.
Store Aluminium Cleanly
Keep aluminium dry and protected from carbon-steel particles, abrasive dust and chemicals. Use racks and handling equipment that will not scratch visible surfaces.
Condensation can form when cold material is moved into a warm, humid shop. Moisture and hydrocarbons contribute to weld porosity, so allow material to reach the workshop temperature and dry before welding.
Preserve grade labels and traceability. Separate alloys where accidental mixing would affect filler selection or performance.
Understand the Oxide Layer
Aluminium immediately forms a thin oxide layer in air. The oxide melts at a much higher temperature than the aluminium below it. If it is not managed correctly, the welder may apply excessive heat while the base metal suddenly collapses.
Clean the joint shortly before welding:
- remove oil, adhesive and dirt with a suitable solvent;
- allow the solvent to evaporate fully;
- remove oxide mechanically with a dedicated stainless-steel brush or approved method; and
- protect the surface from new contamination.
Clean degreasing tools must be used before brushing so oil is not driven into the surface. Never use a brush that has touched carbon steel.
Cut with the Right Process
Aluminium can be sawn, routed, machined, sheared, laser cut, plasma cut or waterjet cut. Process choice depends on alloy, thickness, tolerance, edge quality and production quantity.
Use blades and lubricants suitable for aluminium. Poor chip clearance can clog cutting tools, while excessive heat can smear or distort thin material.
Waterjet produces no thermal heat-affected zone and can cut thick material, but edge taper and abrasive cost must be considered. Modern laser and plasma systems can cut suitable aluminium thicknesses with process-specific gases and settings.
Remove burrs and inspect edges before forming or welding. Deep tool marks can become crack initiators in highly stressed parts.
Plan Forming Carefully
Formability varies significantly by alloy and temper. A radius that works in soft 5052 sheet may crack a harder or less formable alloy.
Confirm:
- minimum inside bend radius;
- rolling direction;
- springback;
- bend allowance;
- tooling condition;
- surface protection; and
- feature distance from bends.
Use a trial piece for unfamiliar combinations. Polished dies, protective film or suitable tooling can reduce marking on visible panels.
Aluminium can work-harden, so repeated correction bends may cause cracking. Establish the bend sequence before production rather than forming and flattening parts repeatedly.
Prepare Accurate Joints
Consistent fit-up is important because aluminium’s thermal conductivity can make it difficult to bridge variable gaps without adding excessive heat. Cut and form parts to controlled dimensions, then clamp them against reliable references.
The required groove, root gap and backing arrangement must follow the welding procedure. Thick sections may need edge preparation or preheat, while thin material needs support against burn-through.
Avoid tack welds that are too small, cracked or contaminated. Tacks incorporated into the finished weld should meet the procedure’s quality requirements.
Choose MIG or TIG Welding
TIG provides precise heat control and a clean appearance, making it popular for thin sheet, tube and visible work. It is generally slower than MIG.
MIG offers higher deposition rates and is commonly used for thicker material and production fabrication. Aluminium wire is soft, so feeding equipment may require a spool gun, push-pull system, suitable liner and correctly shaped drive rolls.
Process choice depends on:
- thickness;
- joint type;
- production rate;
- welding position;
- appearance;
- access;
- equipment; and
- required mechanical properties.
Miller’s industrial aluminium welding guide discusses process, wire feeding and preparation considerations. Project parameters must still follow the approved procedure.
Select Filler Metal Correctly
Filler selection affects crack resistance, strength, ductility, corrosion behaviour, service temperature and colour after anodizing. Common filler families include 4xxx and 5xxx series, but the right choice depends on the exact base alloys and application.
Consult a recognized filler selection chart, welding engineer or consumable manufacturer. Consider:
- both base alloys;
- required strength;
- post-weld heat treatment;
- elevated-temperature service;
- anodized colour match;
- corrosion exposure; and
- applicable code.
Store filler wire clean and dry. Dirty or oxidized wire can introduce porosity and feeding problems.
Control Shielding Gas
Argon is widely used for aluminium welding, while argon-helium mixtures or helium may be selected for certain thicker sections or heat-input needs. Use the gas specified by the procedure.
Check:
- gas purity;
- hose and fitting leaks;
- flow rate;
- torch and nozzle condition;
- drafts;
- electrode stick-out or contact-tip setup; and
- pre-flow and post-flow where applicable.
Excessive flow can pull air into the shielding envelope. Shield the work from fans and open doors without compromising ventilation.
Manage Heat Input
Aluminium removes heat from the weld zone rapidly at the start, then becomes increasingly heat-saturated. Settings that seem low on a cold component may become excessive as the assembly warms.
Plan for:
- adequate initial energy;
- steady travel speed;
- controlled interpass temperature;
- suitable run length;
- balanced sequence;
- cooling between stages; and
- fixtures that conduct heat without trapping the part.
Avoid uncontrolled preheat. Temperature limits can be important for mechanical properties and filler performance. Use temperature-indicating tools appropriate to the material and procedure.
Prevent Porosity
Hydrogen is a major cause of porosity in aluminium welds. Potential sources include moisture, oil, dirty filler, contaminated gas systems and condensation.
Prevention includes:
- dry material and filler;
- thorough degreasing;
- oxide removal after degreasing;
- leak-free shielding equipment;
- protection from drafts;
- correct torch angle and travel; and
- clean gloves and tools.
If porosity appears, identify the source rather than repeatedly welding over the defect. Repair must follow the project procedure.
Control Distortion
Aluminium has a high coefficient of thermal expansion, so thin panels and long frames can move significantly during welding.
Use:
- balanced joint design;
- minimum necessary weld volume;
- accurate fit-up;
- a planned tack sequence;
- alternating weld locations;
- rigid but releasable fixtures;
- backing or chill bars where approved; and
- intermediate dimensional checks.
Do not rely on force to pull a badly distorted assembly into place after all welding is complete. Correct the sequence and heat distribution.
Finish and Protect the Surface
Aluminium may be left mill-finished, brushed, polished, anodized, painted or powder coated. Specify the finish and acceptable appearance before fabrication.
Dedicated abrasives prevent steel contamination. Blend in a consistent direction and avoid creating deep local grooves. Clean finishing residue from joints and crevices.
For anodized products, welds may appear a different shade from the parent metal because filler and heat-affected zones respond differently. Produce a sample when visual consistency is important.
Powder coating and painting require suitable pretreatment. Mask threads, earth points and close-tolerance interfaces as specified.
Protect Workers and the Workshop
Aluminium welding and grinding create fumes, ultraviolet radiation, hot metal and fine dust. Fine aluminium dust can present fire and explosion hazards under certain conditions. Use suitable extraction, housekeeping and equipment designed for the material.
Follow applicable safety rules for welding, dust collection, fire prevention, compressed gases and personal protective equipment. OSHA’s welding hazard resources provide a general starting point; local regulations and risk assessments govern the job.
Aluminium Fabrication Checklist
Before release, confirm that:
- alloy and temper are verified;
- material and filler are clean and dry;
- cutting and bending suit the alloy;
- tools are dedicated or contamination-free;
- joint geometry follows the procedure;
- oxide is removed shortly before welding;
- process and filler are correct;
- shielding is stable and leak-free;
- temperature and distortion are controlled;
- welds are inspected for fusion and porosity;
- the final surface treatment is compatible; and
- dust, fumes and fire risks are controlled.
Final Thoughts
Aluminium rewards preparation. Accurate fit-up, clean surfaces, correct filler and stable shielding remove many of the problems that operators sometimes try to solve by changing amperage alone.
Identify the alloy, protect it from contamination and use procedure-based heat control. With those fundamentals in place, aluminium can deliver lightweight, durable and attractive fabricated products across a wide range of applications.
 No products in the cart.